CONTENT
- About Vista web buttons
- Quick-start tutorial
- Creating website buttons
- Adjusting web menu appearance
- Setting javascript rollover buttons links
- Creating buttons - sub menus
- Adjusting javascript rollover button
- Setting sub menu buttons links
- Saving vista buttons
- Cascade graphics user guide
- Main window
- Main rollover buttons javascript
- Button builder toolbar
- Button creator - work area
- Toolboxes
- Animated gif image themes toolbox
- Button generator submenu toolbox
- Properties toolbox - main buttons
- Properties of play button
- Normal/Hot state of button gif
- Properties toolbox - submenus
- Web buttons and icons properties
- Normal/Hot state of button images
- Create buttons in theme editor
- Creating theme tutorial
- Java script button states
- Creating new html image button
- Adding graphics and images to the theme
- Setting gif buttons state images
- Adjusting play buttons edges width
- Cool buttons samples
- How to use Vista Buttons with FrontPage
- Insert a dropdown menu to a single page
- Insert a drop menu to many pages by
shared borders
- Insert a popup menu to many pages using
Dynamic Web Template
- How to use Vista Buttons with Dreamweaver. Tutorial
- Insert dreamweaver drop down menu to a single page
- Insert a dreamweaver navigation to many pages using library
- Insert a down menu dreamweaver to many pages using Dynamic Web Template
|
Creating buttons - sub menus
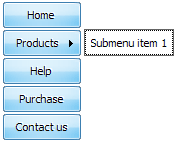
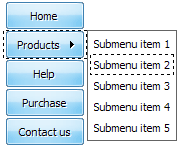
- To create submenus you should choose the button at first. Let's add 6 subitems for the "Products" button for example.
To add submenus you should click "Add submenu" button situated on the button builder Toolbar once.

You'll see that the "Products" button has 1 subitem now.

To add more subitems click "Add item" button on the Tollbar. The "Products" button has 5 subitems now.

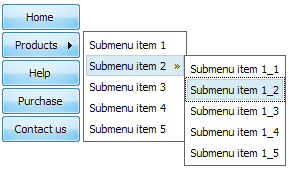
To add the next level of subitems click "Add submenu" button once and then click "Add item" button.

|


