Bootstrap Login forms Popup
Overview
In certain cases we require to protect our precious web content to give access to only specific people to it or else dynamically personalize a part of our websites baseding upon the particular customer that has been actually viewing it. But just how could we actually know each particular website visitor's personality since there are simply a lot of of them-- we must find an reliable and easy solution learning more about who is whom.
This is exactly where the customer access control arrives initially interacting with the site visitor with the so knowledgeable login form component. Within the latest 4th version of one of the most well-known mobile friendly website page production framework-- the Bootstrap 4 we have a lots of features for producing this kind of forms so what we are definitely planning to do right here is having a look at a detailed instance how can a simple login form be developed utilizing the helpful tools the most recent edition comes with.
Efficient ways to use the Bootstrap Login forms Layout:
For starters we need a <form> element to wrap around our Bootstrap login form.
Inside of it several .form-group elements must be provided -- at least two of them actually-- one for the username or else email and one-- for the certain site visitor's password.
Normally it's more convenient to use user's mail in place of making them discover a username to affirm to you considering that normally anyone knows his e-mail and you have the ability to constantly question your users another time to exclusively give you the solution they would certainly like you to address them. So inside of the first .form-group we'll first set a <label> element with the .col-form-label class applied, a for = " ~ the email input which comes next ID here ~ " attribute and special significant recommendation for the visitors-- like "Email", "Username" or anything.
Next we need an <input> element along with a type = "email" in case we need the e-mail or else type="text" in case a username is wanted, a special id=" ~ some short ID here ~ " attribute along with a .form-control class related to the component. This will produce the area in which the site visitors will provide us with their emails or usernames and in the event it is actually emails we're talking about the web browser will likewise check out of it's a valid mail added due to the type property we have described.
Next comes the .form-group in which the password should be provided. As usual it should first have some kind of <label> prompting what's needed here caring the .col-form-label class, some meaningful text like "Please enter your password" and a for= " ~ the password input ID here ~ " attribute pointing to the ID of the <input> element we'll create below.
Next comes the .form-group in which the password must be supplied. As a rule it must first have some kind of <label> prompting what is really required here carrying the .col-form-label class, certain important text message like "Please enter your password" and a for= " ~ the password input ID here ~ " attribute leading to the ID of the <input> element we'll create below.
Next we must state an <input> with the class .form-control and a type="password" attribute with the purpose that we get the well-known thick dots appearance of the characters typed in this area and certainly-- a unique id= " ~ should be the same as the one in the for attribute of the label above ~ " attribute to fit the input and the label above.
At last we require a <button> element in order the visitors to be capable submitting the references they have simply just presented-- ensure you assign the type="submit" property to it.
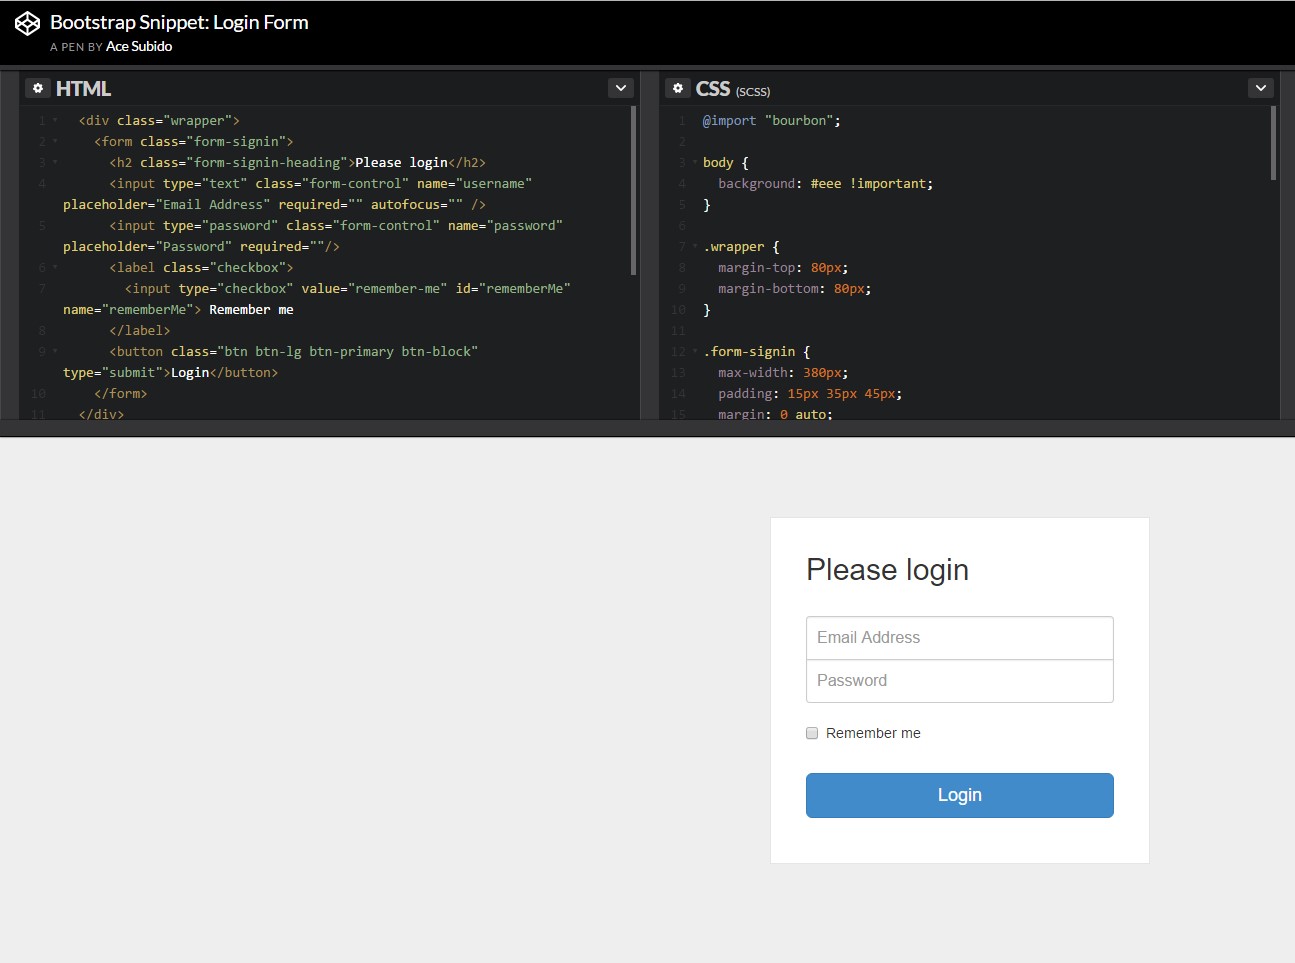
Example of login form
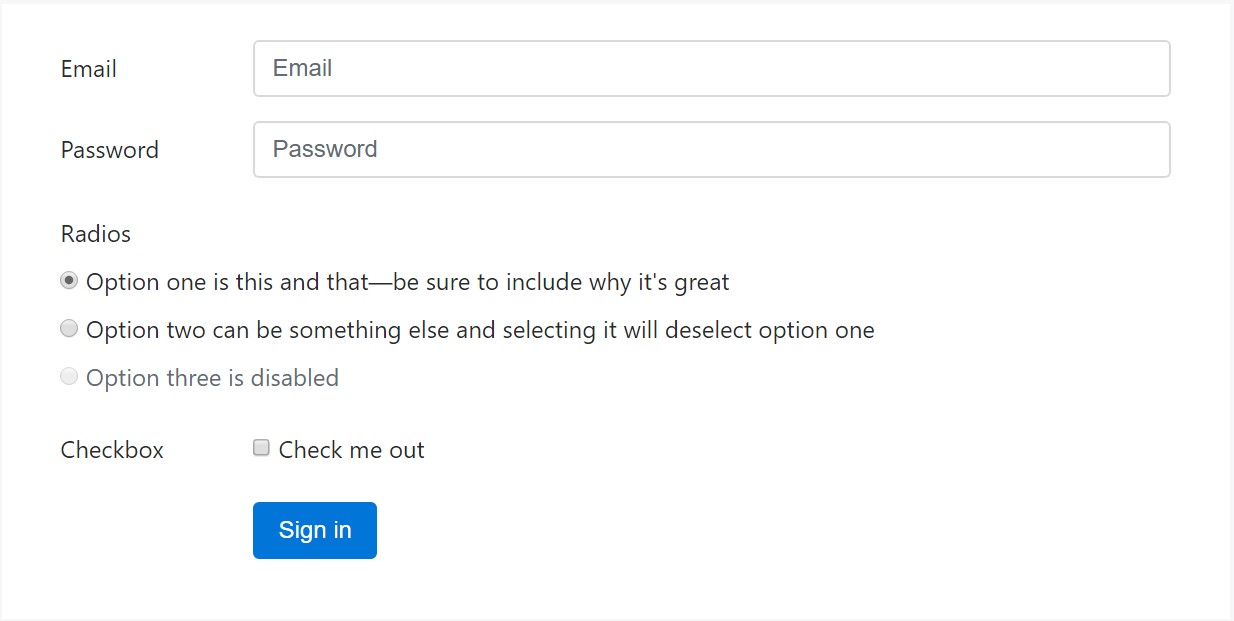
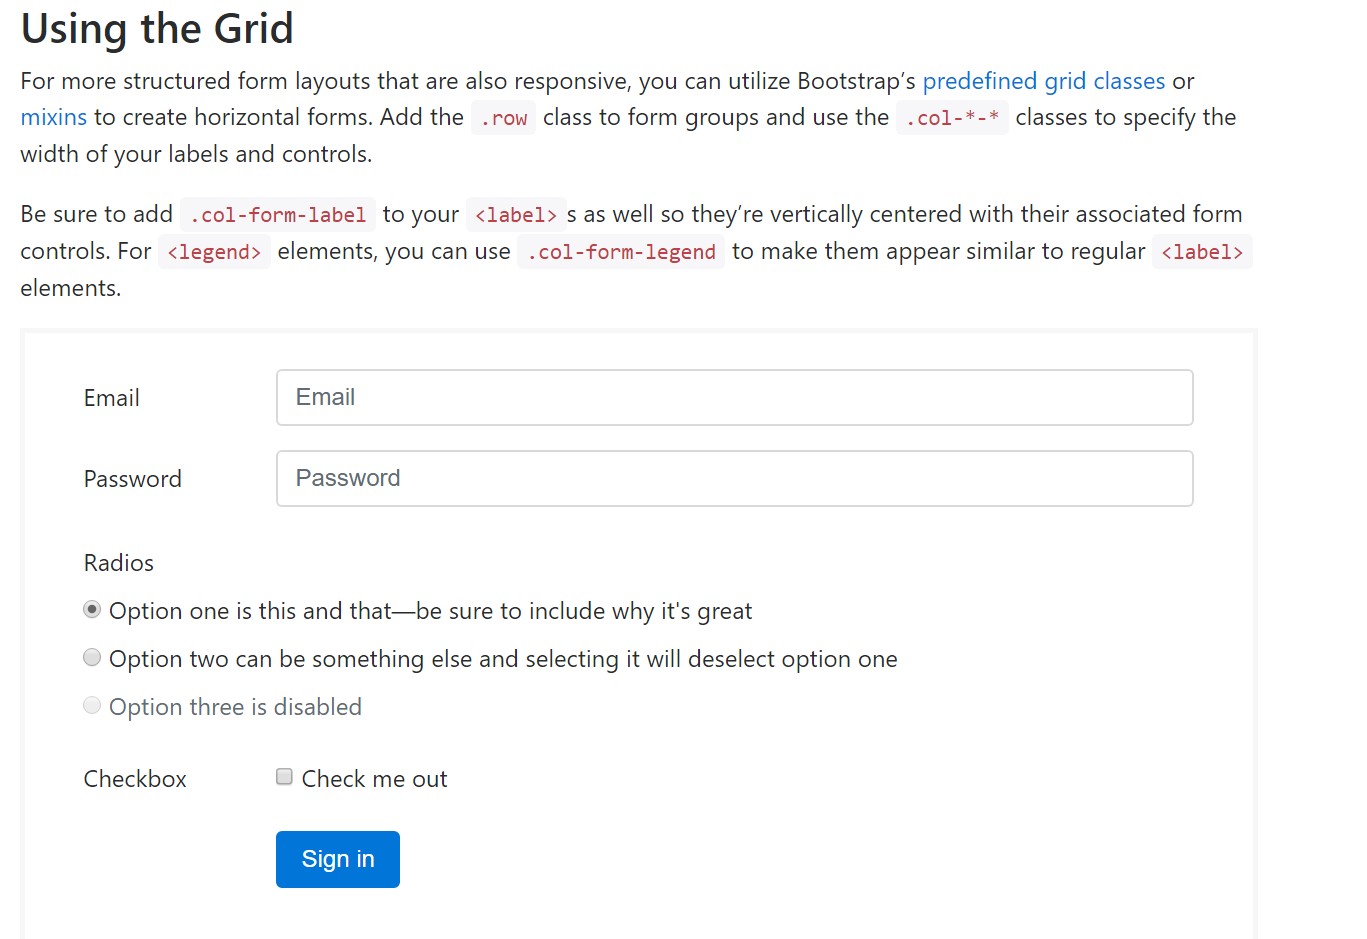
For additionally organised form layouts that are as well responsive, you can absolutely apply Bootstrap's predefined grid classes or mixins to build horizontal forms. Put in the . row class to form groups and make use of the .col-*-* classes in order to specify the width of your controls and labels.
Ensure to put in .col-form-label to your <label>-s as well and so they're upright focused with their involved form controls. For <legend> features, you can certainly use .col-form-legend to make them appear the same as ordinary <label> features.
<div class="container">
  <form>
    <div class="form-group row">
      <label for="inputEmail3" class="col-sm-2 col-form-label">Email</label>
      <div class="col-sm-10">
        <input type="email" class="form-control" id="inputEmail3" placeholder="Email">
      </div>
    </div>
    <div class="form-group row">
      <label for="inputPassword3" class="col-sm-2 col-form-label">Password</label>
      <div class="col-sm-10">
        <input type="password" class="form-control" id="inputPassword3" placeholder="Password">
      </div>
    </div>
    <fieldset class="form-group row">
      <legend class="col-form-legend col-sm-2">Radios</legend>
      <div class="col-sm-10">
        <div class="form-check">
          <label class="form-check-label">
            <input class="form-check-input" type="radio" name="gridRadios" id="gridRadios1" value="option1" checked>
            Option one is this and that—be sure to include why it's great
          </label>
        </div>
        <div class="form-check">
          <label class="form-check-label">
            <input class="form-check-input" type="radio" name="gridRadios" id="gridRadios2" value="option2">
            Option two can be something else and selecting it will deselect option one
          </label>
        </div>
        <div class="form-check disabled">
          <label class="form-check-label">
            <input class="form-check-input" type="radio" name="gridRadios" id="gridRadios3" value="option3" disabled>
            Option three is disabled
          </label>
        </div>
      </div>
    </fieldset>
    <div class="form-group row">
      <label class="col-sm-2">Checkbox</label>
      <div class="col-sm-10">
        <div class="form-check">
          <label class="form-check-label">
            <input class="form-check-input" type="checkbox"> Check me out
          </label>
        </div>
      </div>
    </div>
    <div class="form-group row">
      <div class="offset-sm-2 col-sm-10">
        <button type="submit" class="btn btn-primary">Sign in</button>
      </div>
    </div>
  </form>
</div>
Final thoughts
Generally these are the basic elements you'll require to set up a standard Bootstrap Login forms Modal through the Bootstrap 4 framework. If you're after some more challenging visual appeals you are simply free to get a full benefit of the framework's grid system setting up the components basically any way you would certainly feel they must occur.
Look at a few online video training about Bootstrap Login forms Dropdown:
Connected topics:
Bootstrap Login Form main information
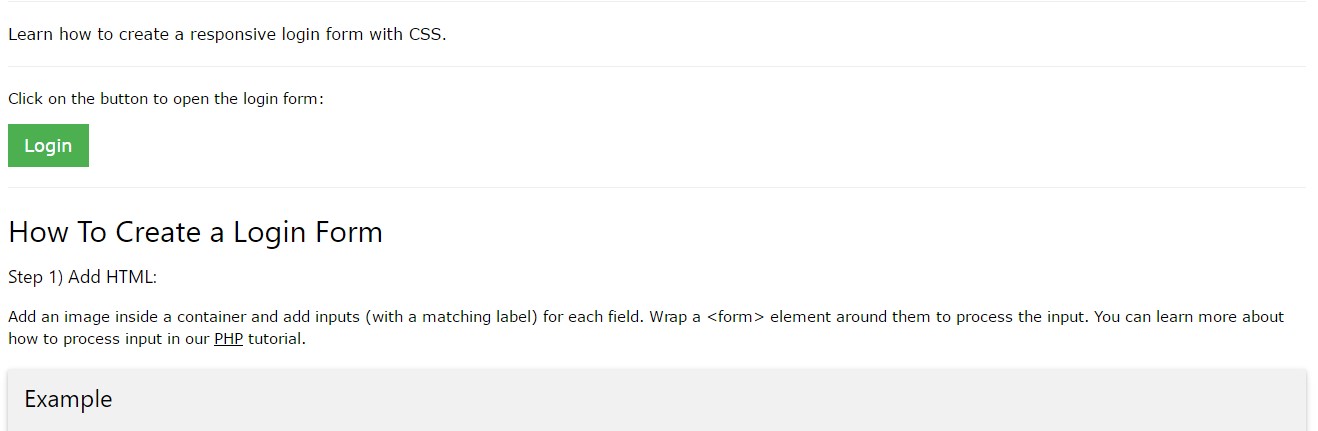
Information:How To Create a Bootstrap Login Form
One more example of Bootstrap Login Form